Client-side MVC with jMVC and ASP.NET MVC
As you might expect, it’s pretty neat and simple to use jMVC with the new ASP.NET MVC framework. Since MVC coders already understand the core concept, and since I’m about to give you a handy helper assembly, it hardly takes any effort at all.
| Download helper assembly | Download demo project | Browse source repository |
A reminder
In case you’ve missed my other posts about jMVC, it’s a teeny-tiny Javascript library which brings the MVC coding experience into the browser. It doesn’t solve world hunger, but it does make it far easier to build UIs that change dynamically according to data entered or options chosen, without needing any calls to the server (that means you, AJAX). There’s a demo site and a tutorial on CodeProject.com, both based around the ASP.NET flavour.
If you want to use it with ASP.NET, or with Castle MonoRail, you can have the convenience of strongly-typed .NET objects on the server databound (in and out) to a dynamic UI on the client. This post will show how to get the same convenience when using ASP.NET MVC.
Installation
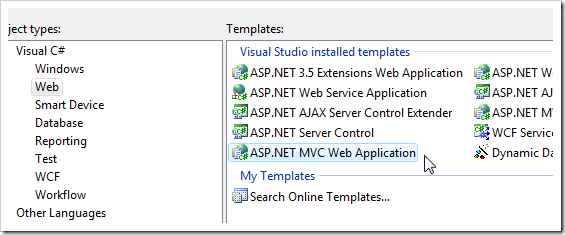
- Start a new MVC Web Application, or open an existing one.
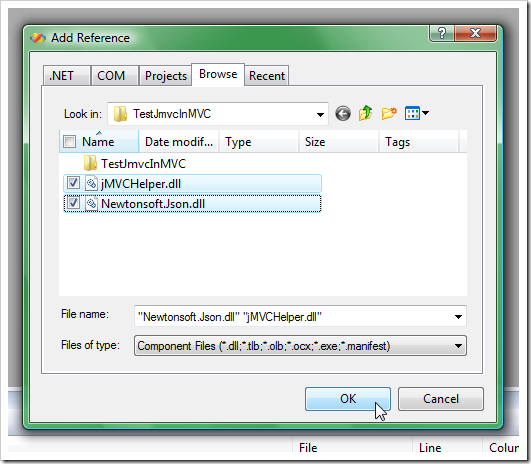
- Download the jMVC for ASP.NET MVC package, or build it yourself from the sources. Copy the two DLLs somewhere accessible to your project, and add a reference to them.
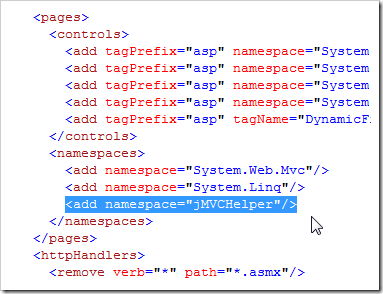
- In your web.config file, add a reference to the jMVCHelper namespace:
Well done, you’re ready to go!
Usage
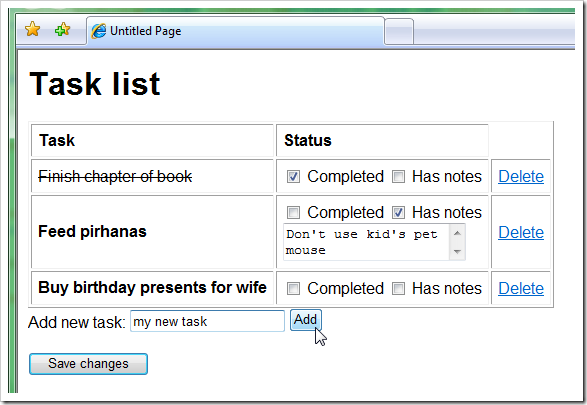
I’ll copy the same Task List example as used on the CodeProject.com article. We want to add to our MVC application a simple, fully client-side task list editor looking like this:
First, go to the controller that’s going to provide the data. If you just made a new MVC application using the default template, you can use HomeController.cs, and edit it to look like this:
public class HomeController : Controller
{
    private class Task
    {
        public string Name;
        public bool IsCompleted = false;
        public bool HasNotes = false;
        public string Notes = "";
    }

    [ControllerAction]
    public void Index()
    {
        // Supply some initial data to jMVC
        // You'd normally get it from a database,
	// rather than hard-coding it
        ViewData["tasks"] = new List<task>() {
            new Task { Name = "Feed fish", IsCompleted = true },
            new Task { Name = "Buy new digital SLR" }
        };

        RenderView("Index");
    }

    [ControllerAction]
    public void About()
    {
        // Not really using this, but can leave it in place
        RenderView("About");
    }
}
So, we’ve defined a data structure for our Task objects, and assigned a List of them into the ViewData for the page.
Now, in the corresponding view (Index.aspx, in this case), you can insert the jMVC panel like so:

If you run the application now, you’ll get a weird 404 error because it’s trying to load /Views/jMVC/tasks.jmvc, but you haven’t created this yet. Create a new blank text file at that location. This isn’t a tutorial on jMVC syntax (for that, see this guide, or examine the samples), so just paste in the following:
<% if(model.tasks.length == 0) { %>
    <p>No tasks have been added.</p>
<% } else { %>
    <table border="1" cellpadding="6">
        <thead>
            <tr>
                <th align="left">Task</th>
                <th align="left">Status</th>
                <th align="left"></th>
            </tr>
        </thead>
        <% for(var i = 0; i < model.tasks.length; i++) { %>
            <tr>
                <td>
                    <span style='<%= model.tasks[i].IsCompleted ? "text-decoration:line-through" : "font-weight:bold" %>'>
                        <%= model.tasks[i].Name %>
                    </span>
                </td>
                <td>
                    <label>
                        <input type="checkbox" onclick="<%* function(i) { model.tasks[i].IsCompleted = this.checked } %>"
                            <%= model.tasks[i].IsCompleted ? "checked" : "" %> />
                        Completed
                    </label>
                    <label>
                        <input type="checkbox" onclick="<%* function(i) { model.tasks[i].HasNotes = this.checked } %>"
                            <%= model.tasks[i].HasNotes ? "checked" : "" %> />
                        Has notes
                    </label>
                    <% if(model.tasks[i].HasNotes) { %>
                        <div><textarea onchange="<%* function(i) { model.tasks[i].Notes = this.value; } %>">
                            <%= model.tasks[i].Notes %></textarea></div>
                    <% } %>
                </td>
                <td>
                    <a href="#" onclick="<%* function(i) { model.tasks.splice(i, 1); } %>"">Delete</a>
                </td>
            </li>
            </tr>
        <% } %>
    </table>
<% } %>

Add new task:
<input type="text" id="NewTaskName" onkeypress="return event.keyCode != 13; /* don't submit form if ENTER is pressed */"/>
<input type="button" value="Add" onclick="<%* function() { addNewTask(model.tasks); } %>" />

<%
    function addNewTask(taskList) {
        var taskName = document.getElementById("NewTaskName").value;
        if(taskName != "")
            taskList[taskList.length] = { Name : taskName, Notes : "" };
    }
%>
I know that looks intimidating, but it’s more interesting than just printing “Hello, world!”. If you think about it for a minute, it’s similar syntax as you’d use in any ASP.NET MVC ViewPage, except in this case it’s going to be executed on the client, and Javascript event-handling is baked in. There are simpler examples on the demo site.
Soon I’m going to make the syntax cleaner by adding MVC-style view helper methods, so you’ll be able to write <%= Html.TextBox(…) %> etc., but for now you have to write all the HTML markup yourself.
Getting data back on the server
If you run the app now, you’ll be able to edit the task list. Whee! Isn’t that fun – no server communication at all!
Except there’s no way to post your work back to the server, so change your view to look like this:
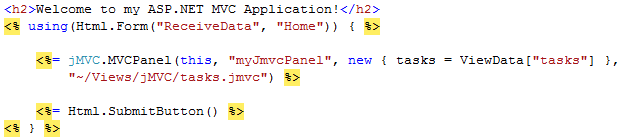
Note: you need to add a reference to the MVC Toolkit to use this syntax.
Now we’ve added a proper HTML form with submit button. This means that jMVC is going to post a JSON string representing the edited data to the server with the name “myJmvcPanel”. To process that on the server, add a new action method to the controller:
[ControllerAction]
public void ReceiveData()
{
    // Retrieve the edited data
    List<task> result = this.ReadJsonFromRequest<list<task>>("myJmvcPanel", "tasks");

    // Do something useful with it, like save it to the database
    // In this case just prove we've got the updated data
    ViewData["count"] = result.Count;
    RenderView("About");
}
By the way, you’ll need to import the jMVCHelper namespace to use the ReadJsonFromRequest() helper method. Put this at the top of your controller file:
using jMVCHelper;
Hooray, we’re done. The user can add, edit and remove tasks in the browser with no client-server communication, then when they post the form, we get strongly-typed .NET objects to represent the submission.
If you couldn’t be bothered to type those things yourself, you can download the demo project I prepared earlier.